Economy Block Size Table and Tutorial
This past weekend I posted that I am going to be making another Economy Block playmat in the next few weeks in case anyone wanted to join along and make one with me and you guys just about broke my Instagram inbox with your enthusiasm.

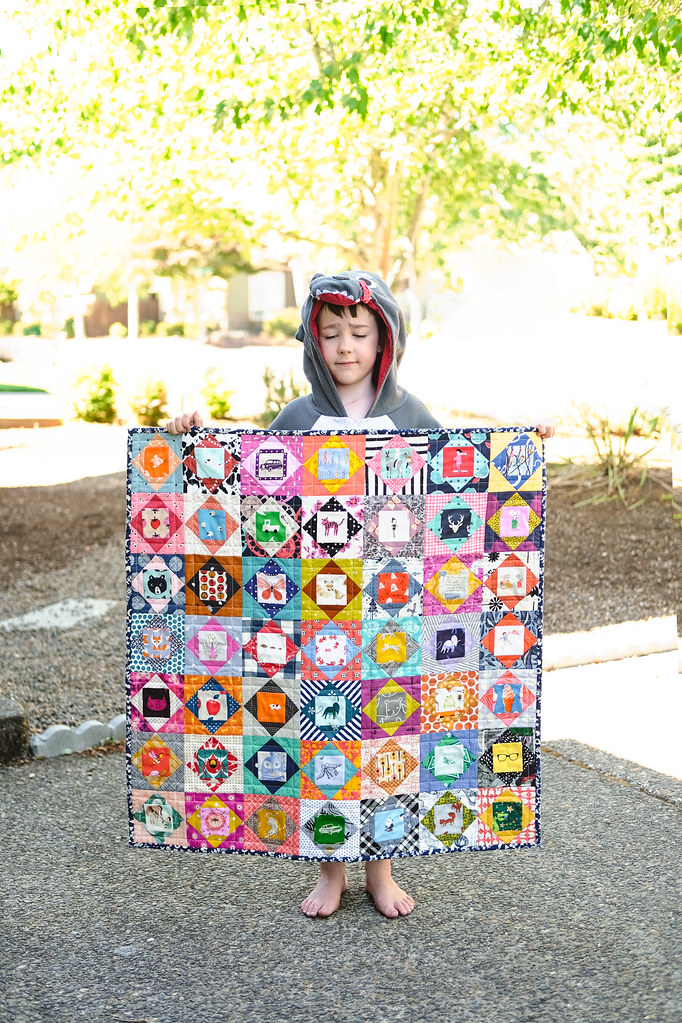
The first one I made was for my youngest son and the second one was for my very first nephew on my side of the family. And the reason I'm making another one is because I'm going to have another nephew! I'm so excited.

Some of the questions that I received were about block sizing and lots were about tutorials. There are tons of tutorials out there and I wasn't originally planning to add my own to the mix, but I actually didn't find one with exactly what I wanted to share so I went ahead and made my own.

This is similar, but I did my own math and made test blocks for each of these sizes to make sure they would work. I also wanted to add a tip for reducing bulk in your blocks.

Because we will be sewing on the bias, the blocks are all oversized to allow for some wiggle room (it can be tricky to get everything centered) so these will involve trimming.

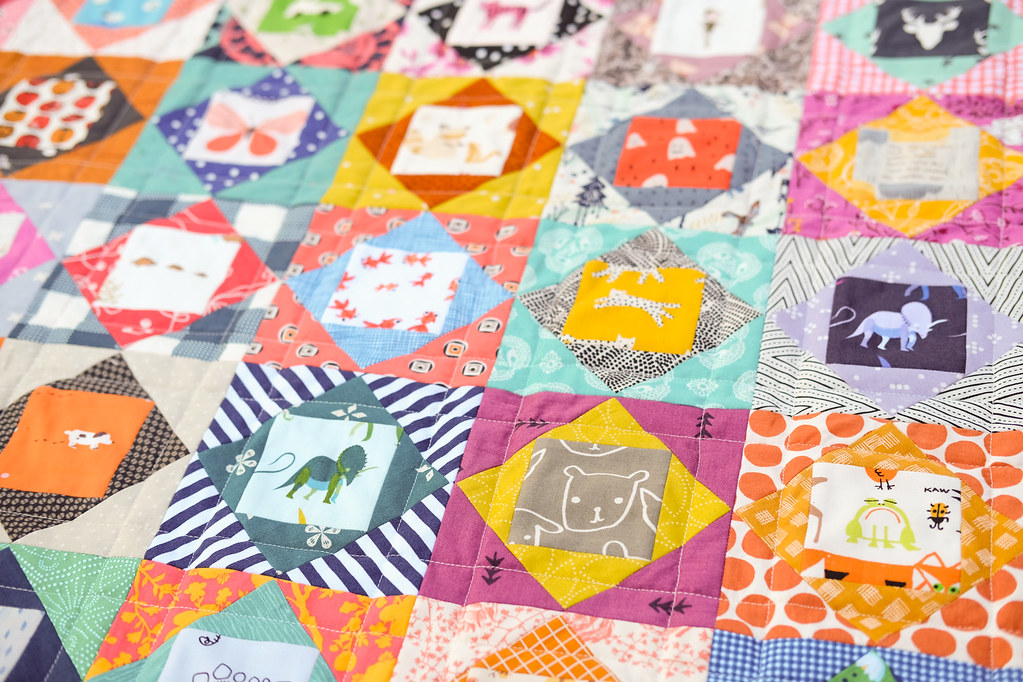
I will be sharing some block construction videos over on Instagram when I make my blocks, but I have the tutorial ready for you in case you want to get started with the cutting. I will be making the 5" finished block size for my quilt and will be fussy cutting the center square for each block like I have done with my other quilts.

Lynn on
Beautiful fussy cutting for these quilts!
Karen on
I’ll be watching with interest how this comes together. I have a lot of feature fabric that could be used for those centre squares