The Violet QAL Week 4 - Piecing Your Sashing
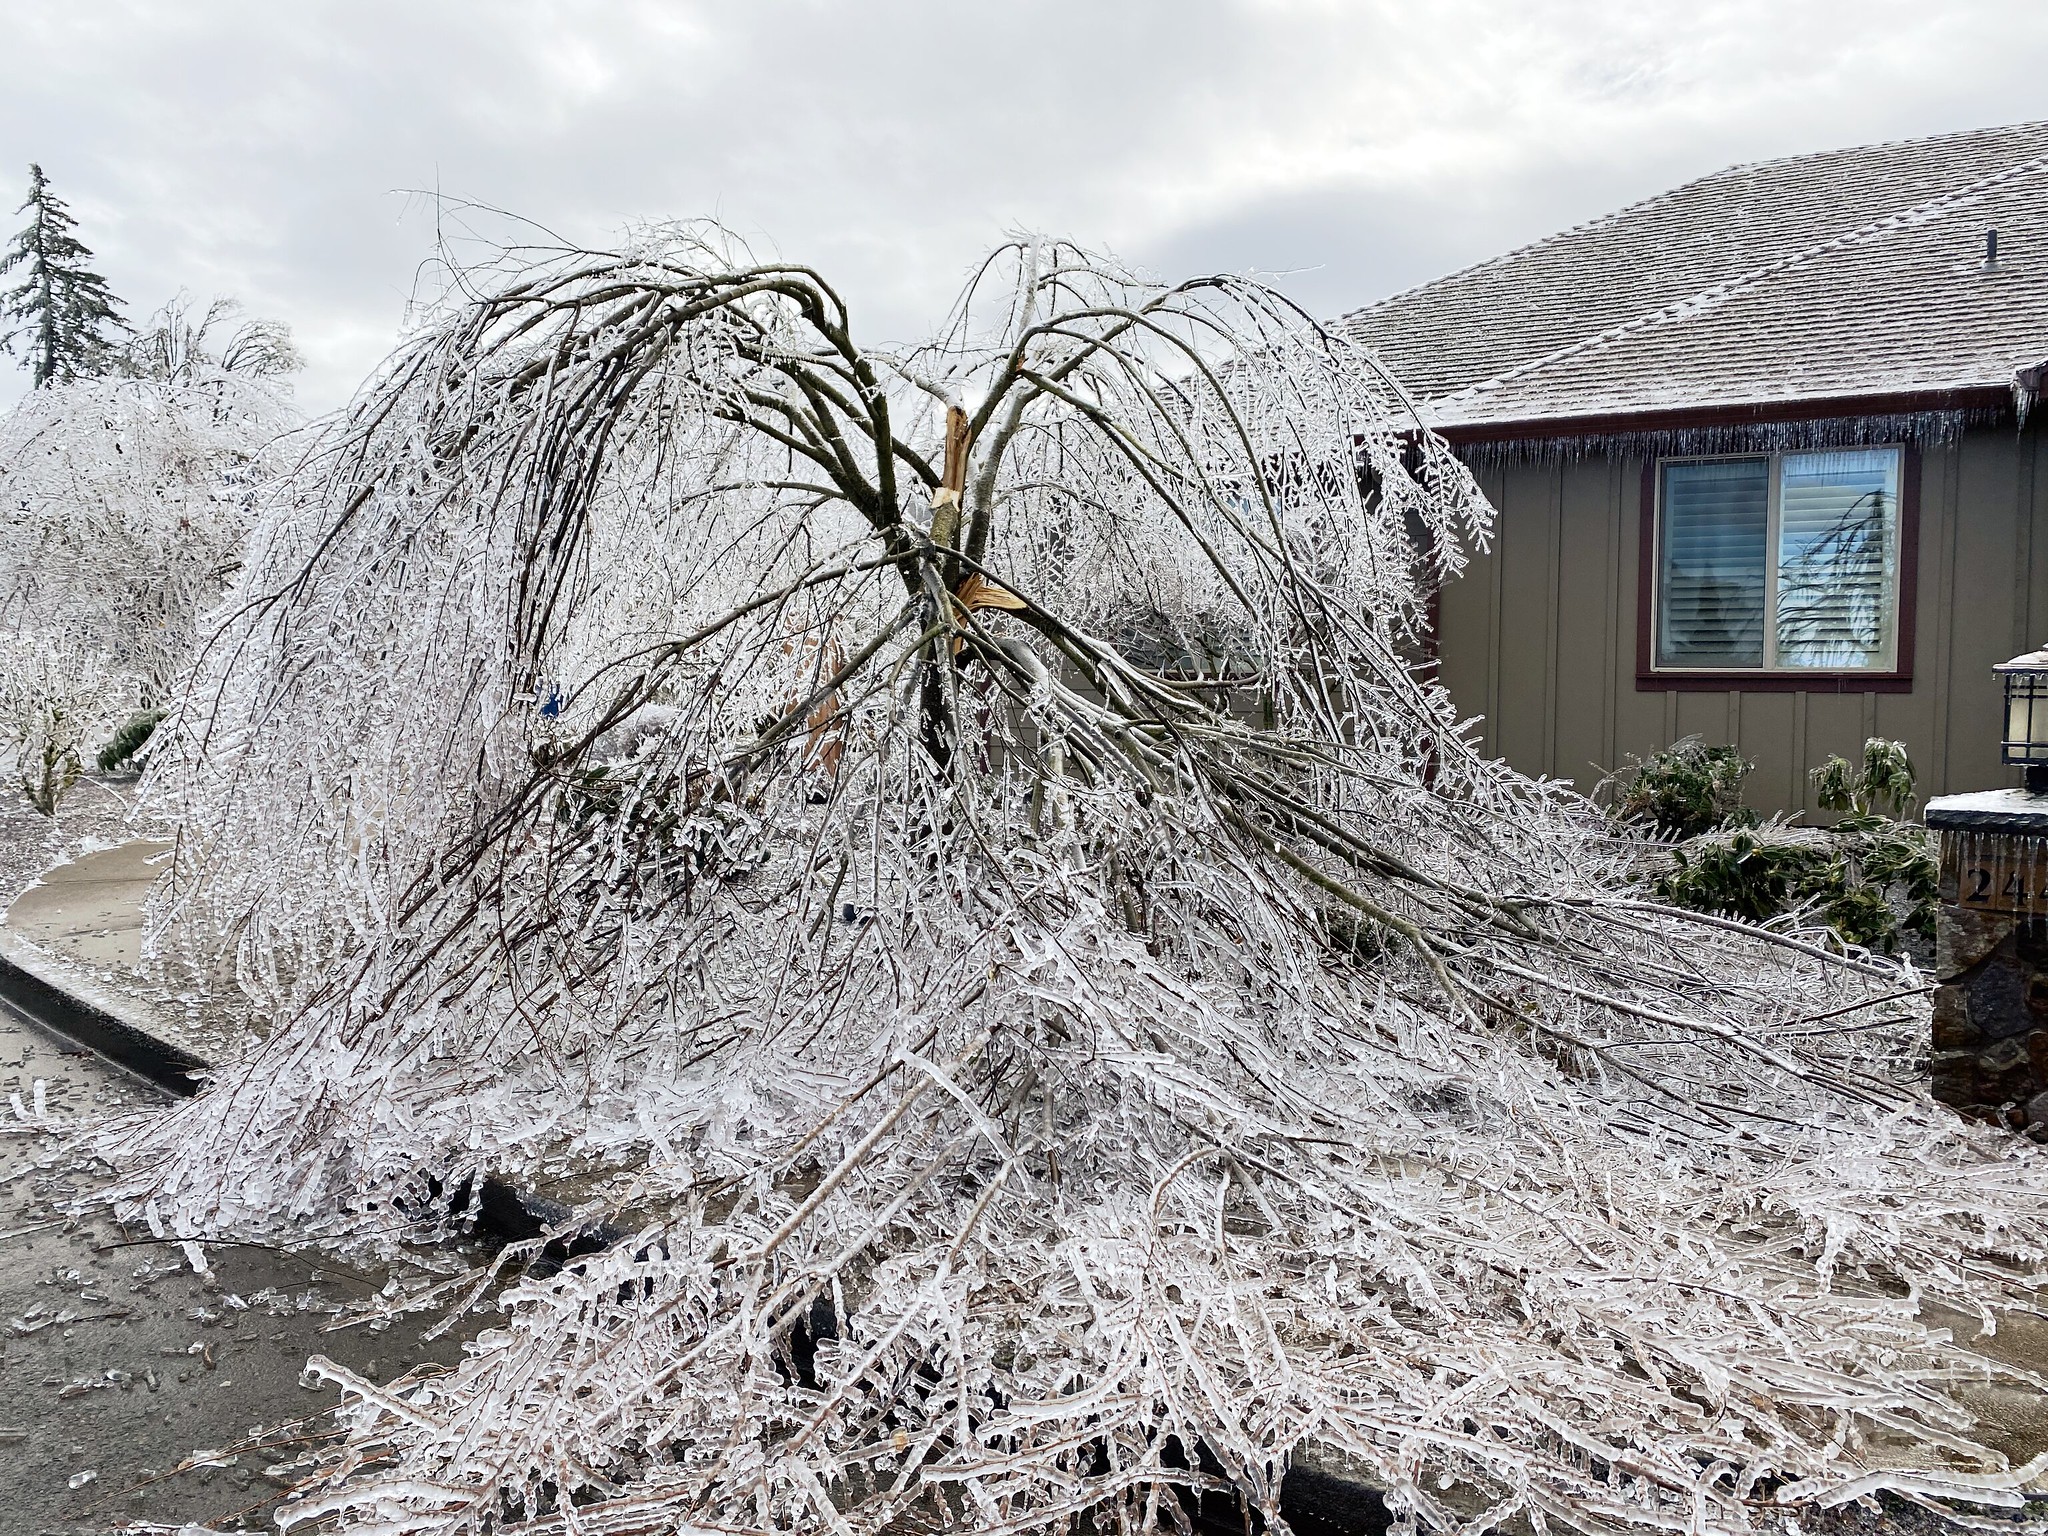
Sorry about the delay in getting this week's posts up! If you follow me on Instagram, you might have seen that we had a little bit of an ice storm here in Oregon and our power was out for much longer than I would have liked. Luckily it's back - many people in our city still don't have power and I am just grateful to be warm.
There was a ton of damage to our beautiful Oregon trees, so we will be spending lots of time this week cleaning up branches and debris. Luckily there was no damage to our property - our neighbors across the street had a tree fall on a truck parked in their driveway.
The night of the ice storm, we could hear branches breaking everywhere throughout the night - it was pretty scary! I have been through tornadoes and earthquakes, but never anything quite like this ice storm. I will be happy if it is the only one I experience!
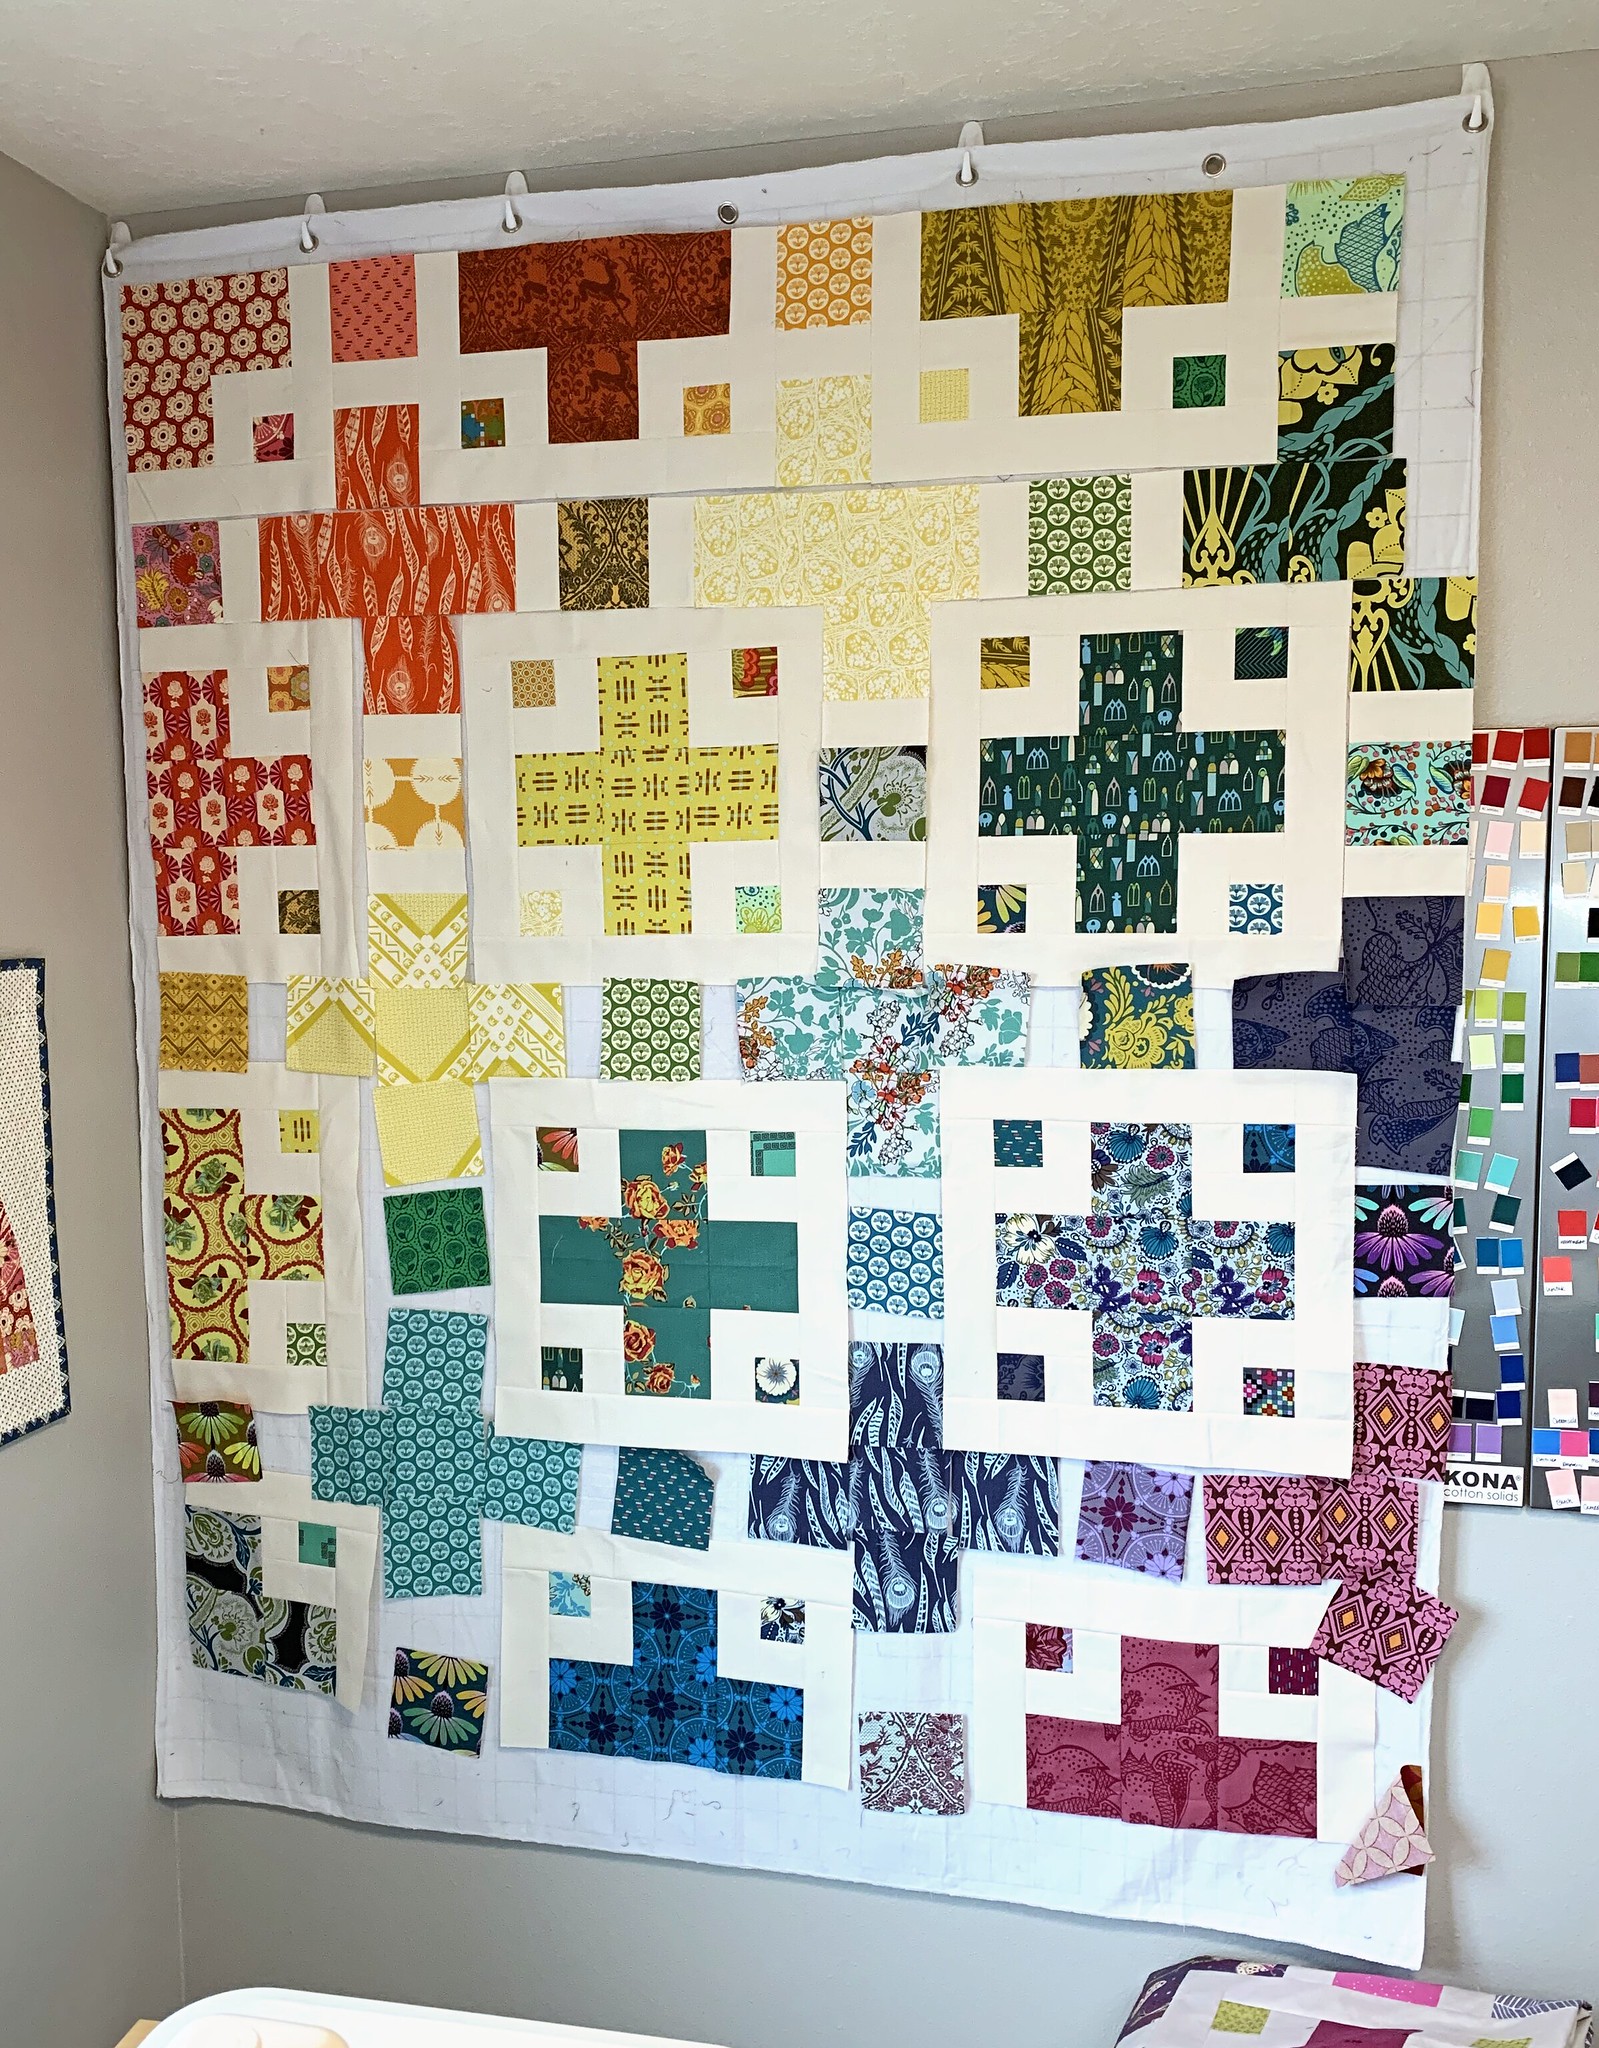
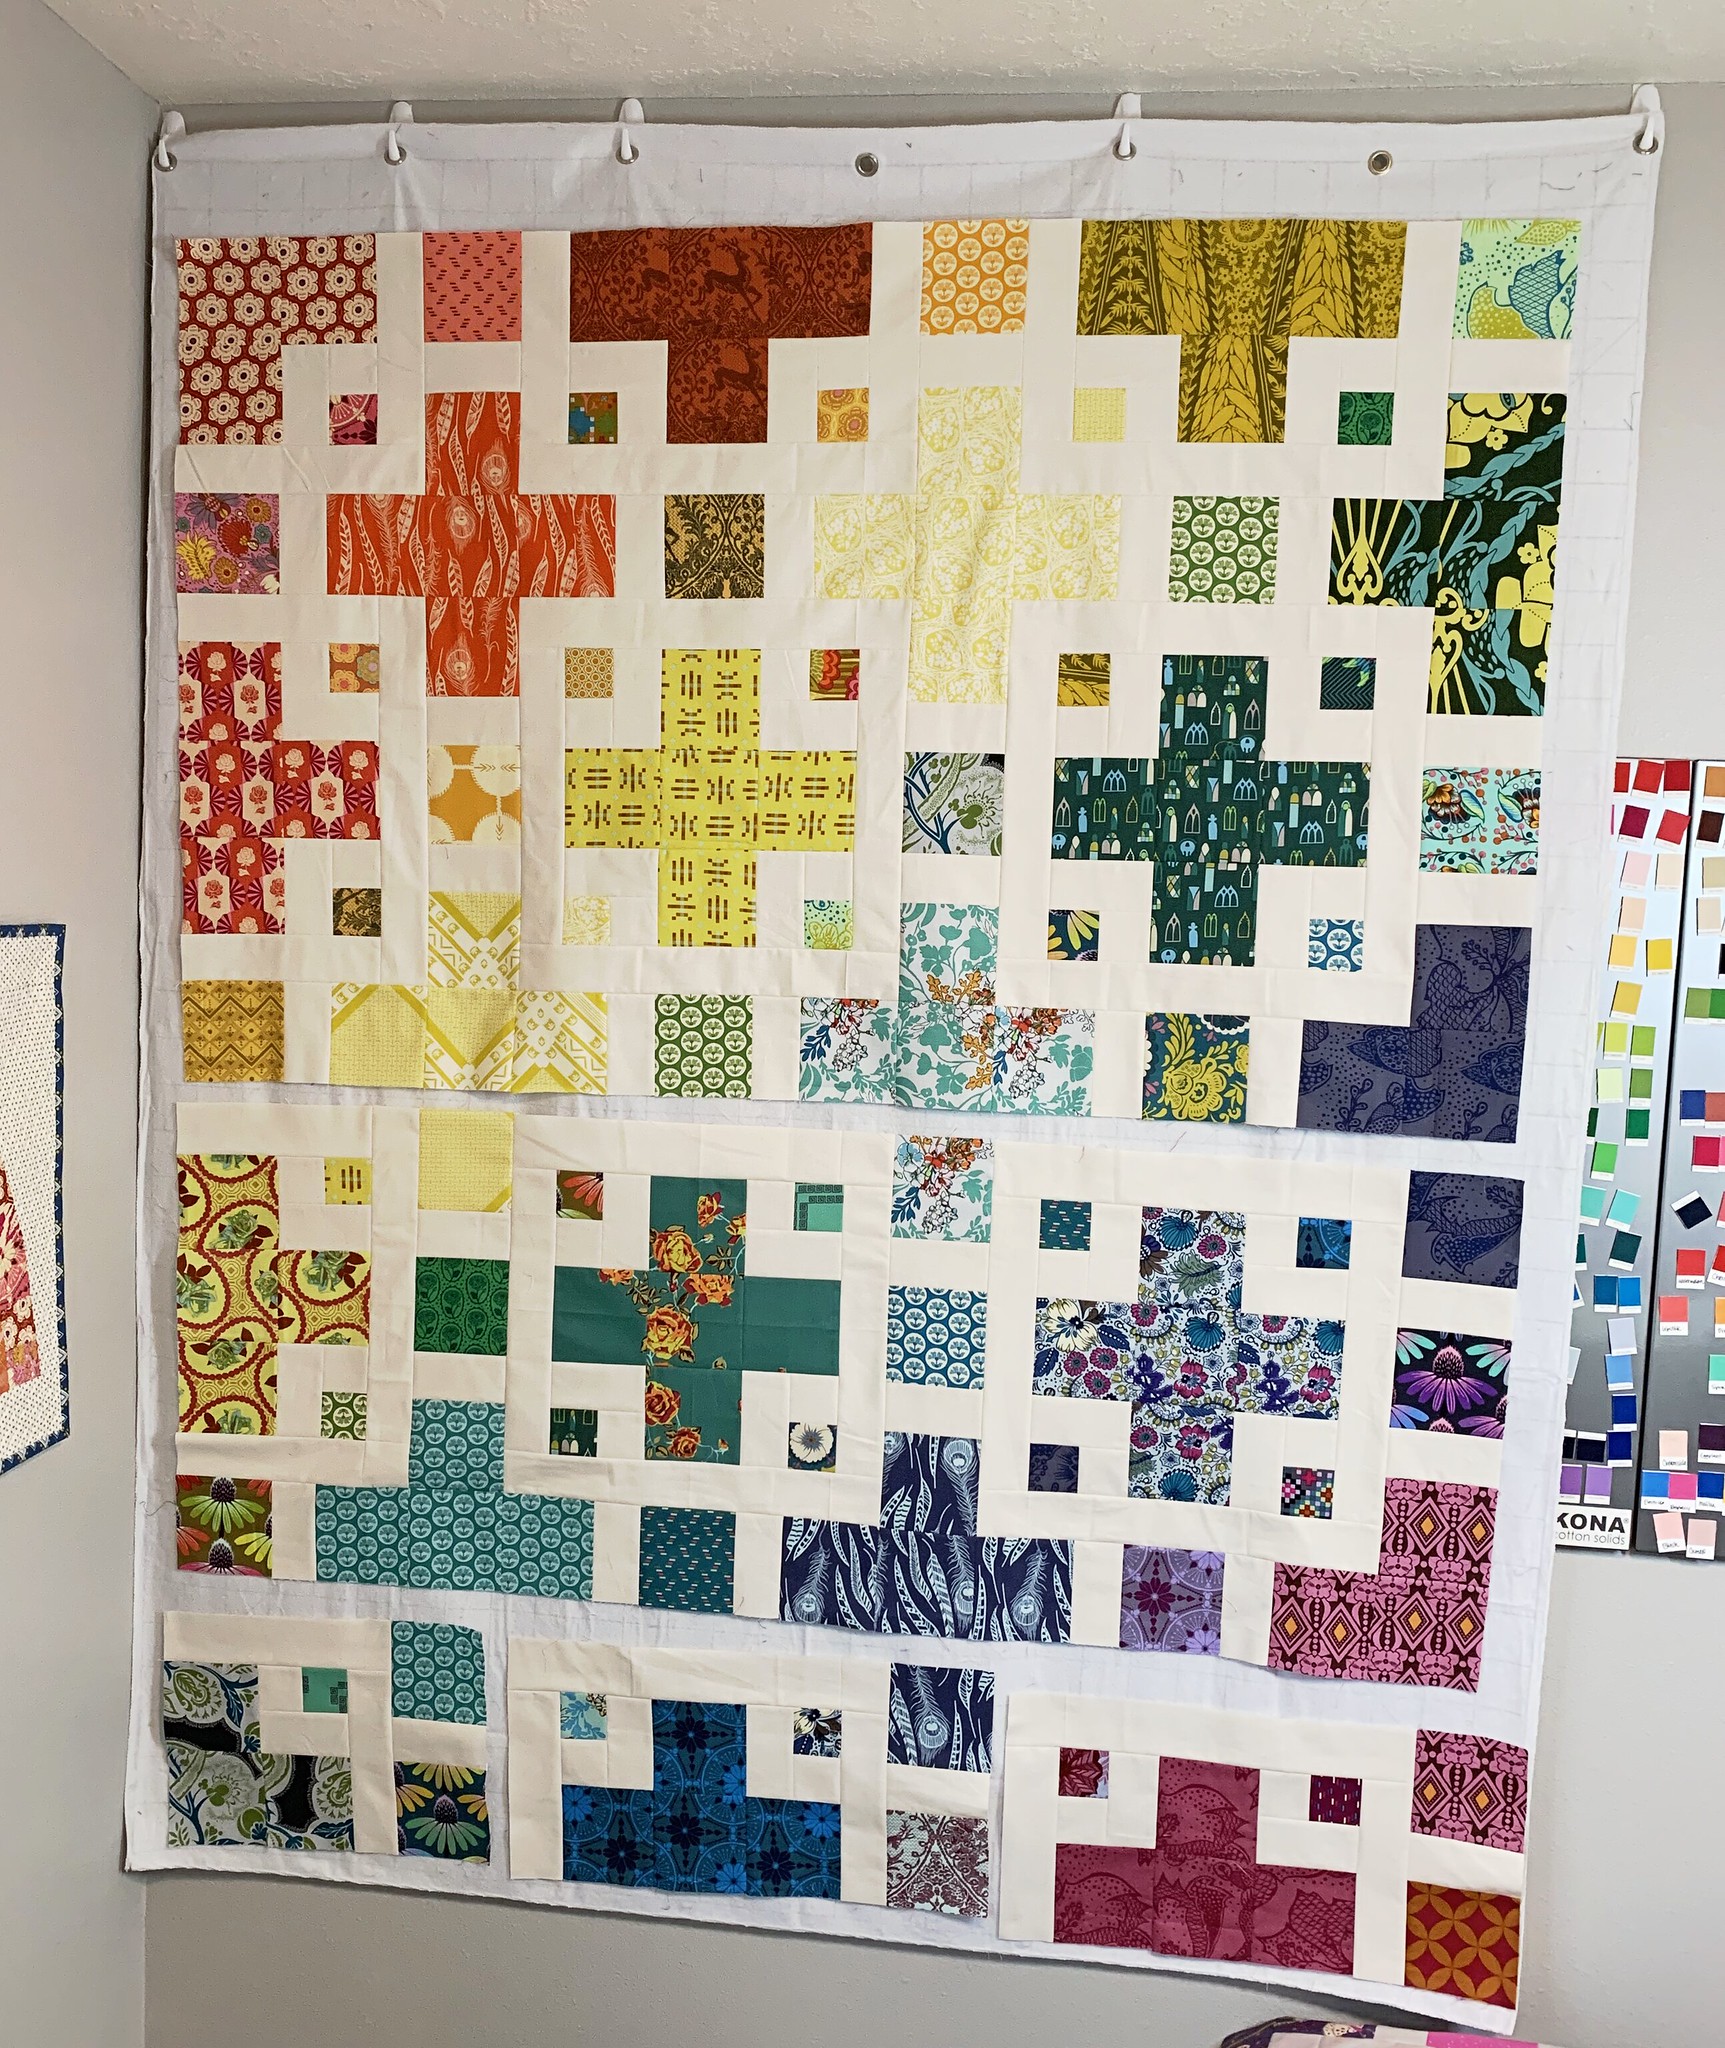
It's time to add our sashing! While this is probably the most time consuming step so far, it should also be the easiest. If you haven't already finalized your layout, now is the time to do it - use a design wall, your floor, a guest bed, whatever surface you have available and make sure everything looks balanced and evenly distributed.
Here are some tips for assembling your quilt:
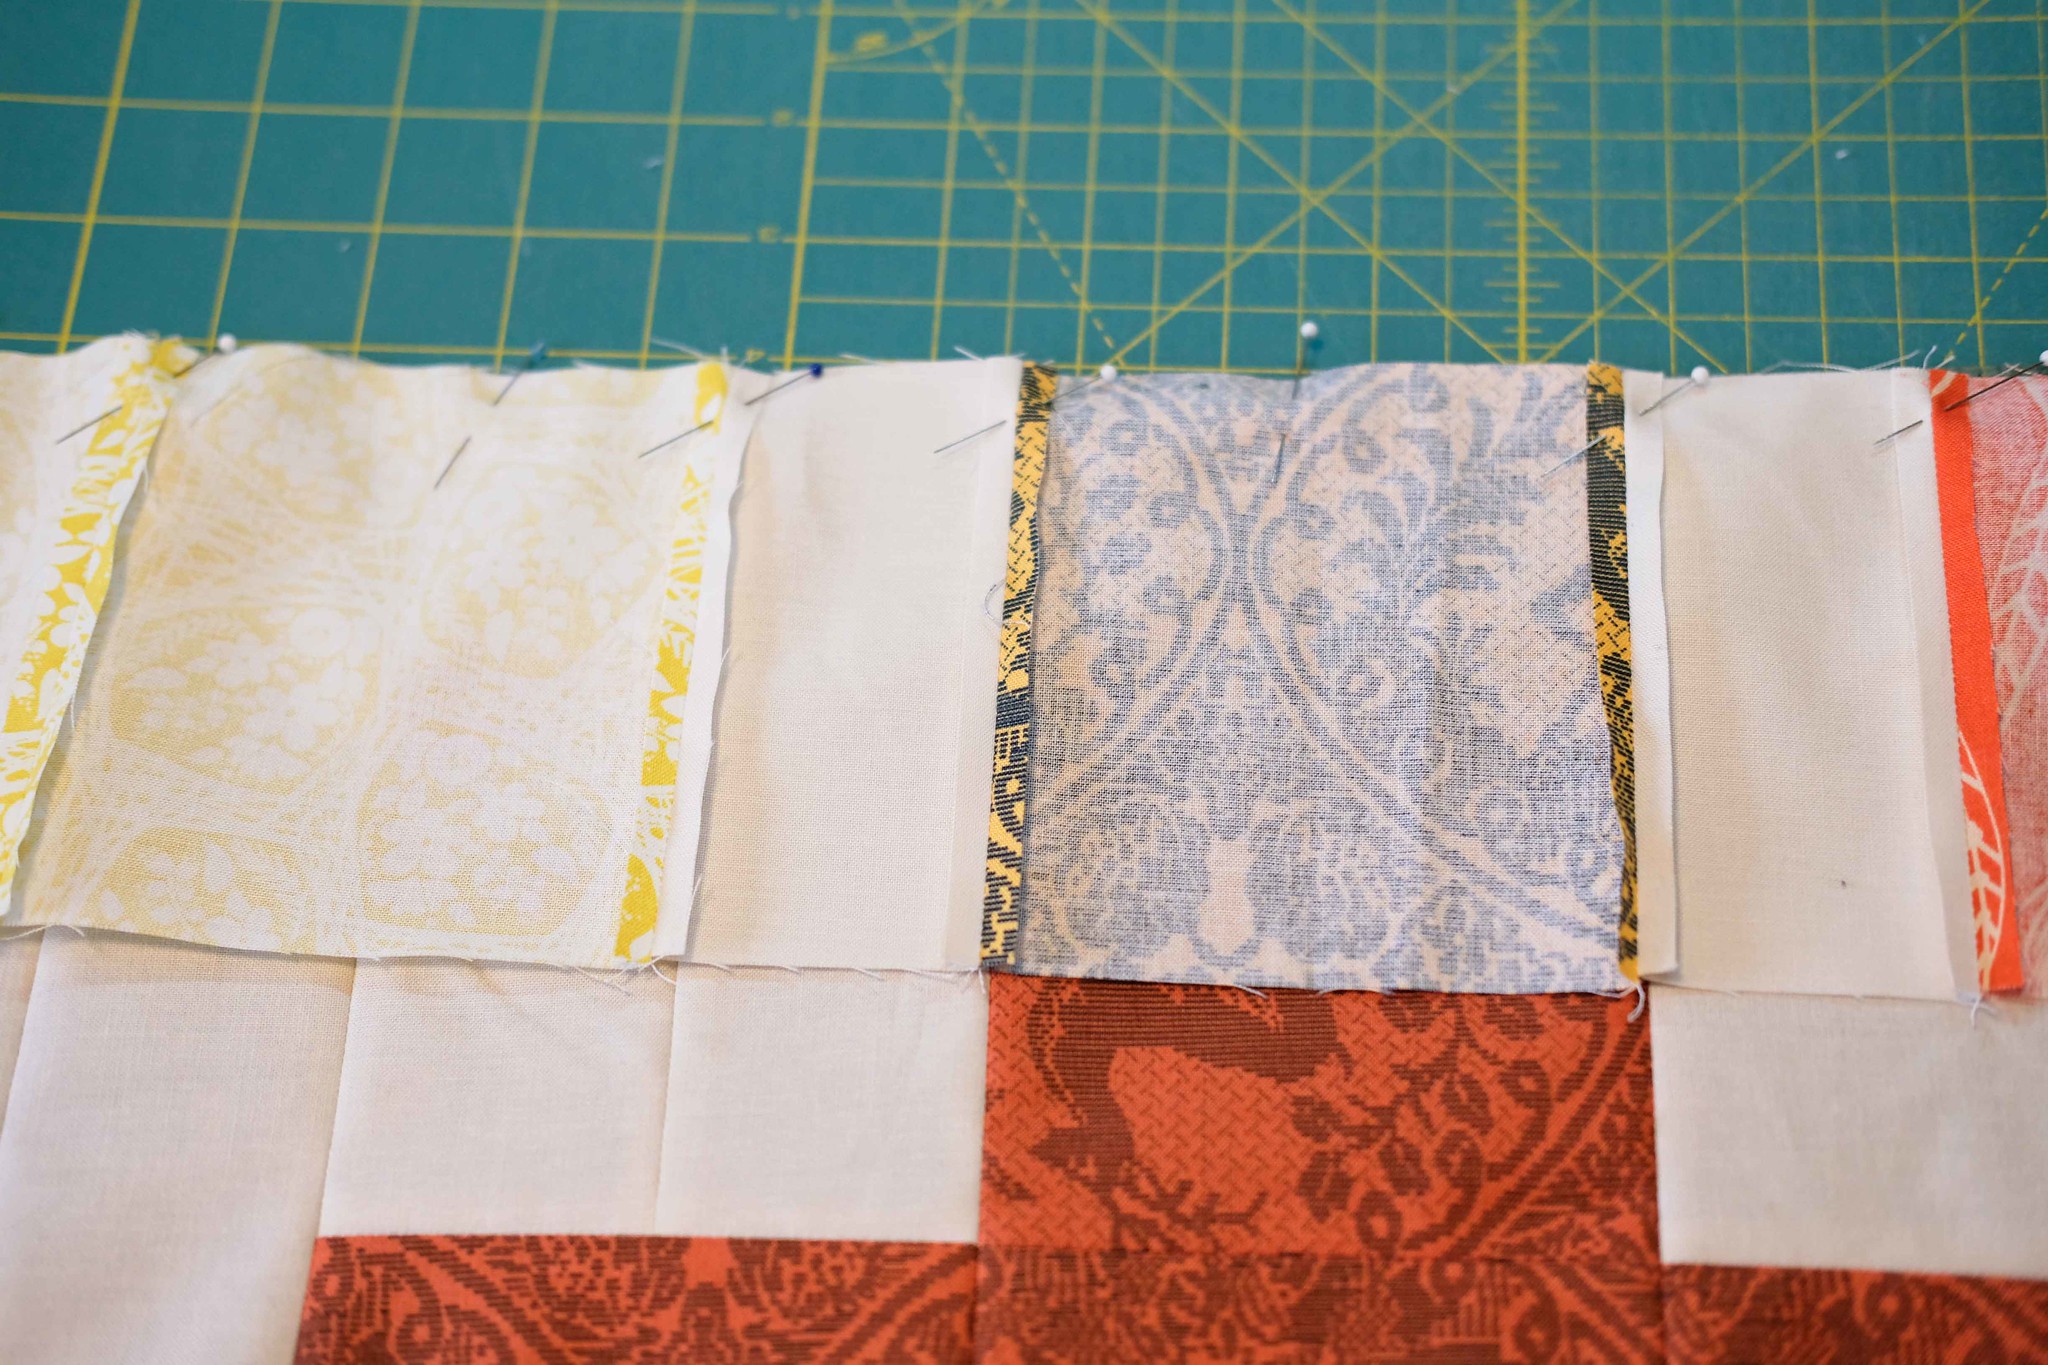
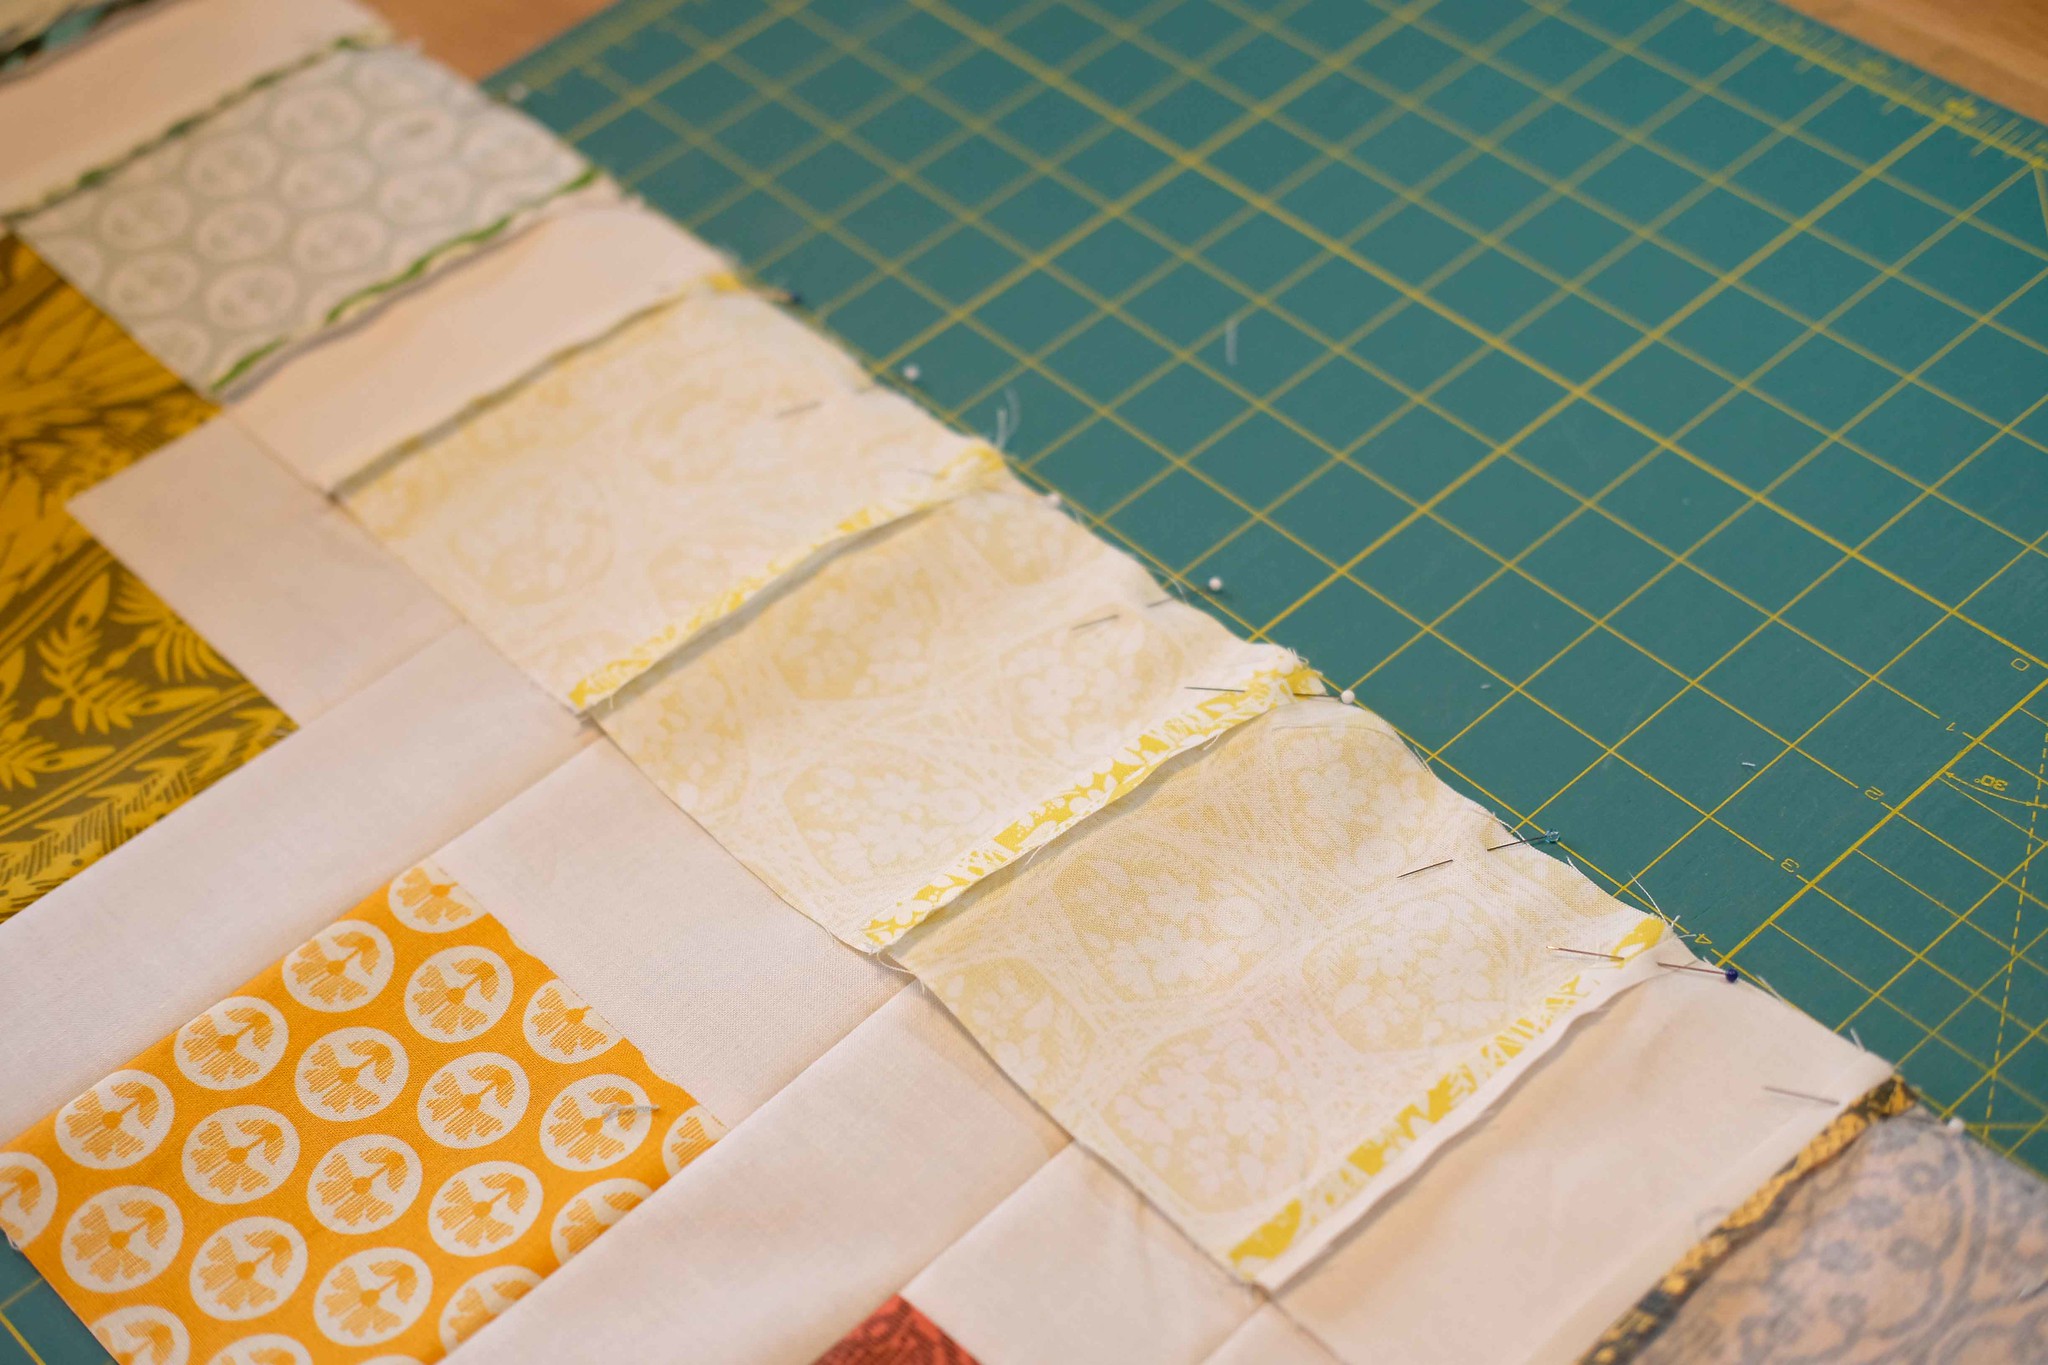
- There are not very many places where seams are going to line up, so when they do, they are important. Make sure to pin at every seam intersection so that everything stays lined up. I pin a lot more than this, but at least pin at the seam intersections.
- It is easy to mix things up when you are assembling this quilt top if you don't lay it all out. I would rather spend a few minutes laying the quilt out than having to pick out stitches if I sew the wrong pieces together.
