Interlock/Jersey Knit Receiving Blanket
I still have a while to go until this baby shows up, but I am excited to start doing a little sewing. As much as I love quilts, I don't really want to carry one around in my bag all of the time so I knew I wanted to make some receiving blankets.
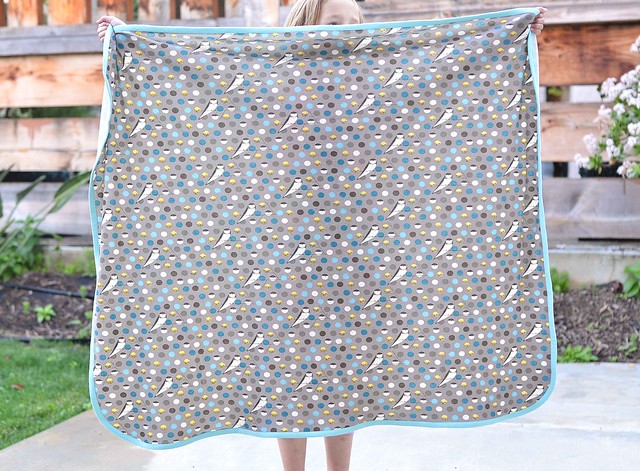
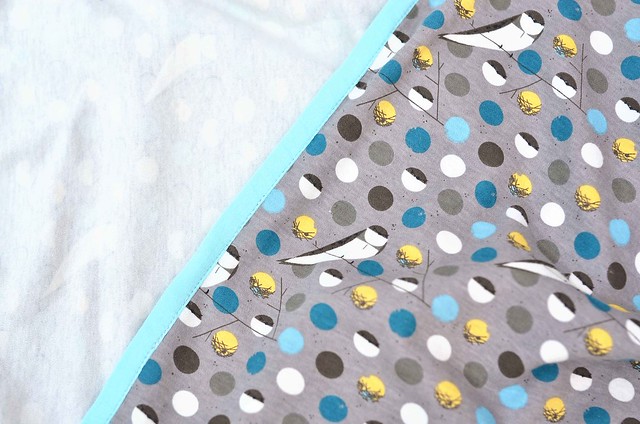
Since I don't have a lot of experience sewing with knits I thought I would start out with one blanket and I ordered this really cute Charley Harper knit. It is an interlock knit which is a little sturdier feeling than a jersey knit. I was a little lost about what to do for a binding since I hadn't thought to order a coordinating print, so I picked up some Robert Kaufman Laguna Jersey in aqua. It's not an exact match but it's close enough for me. Also it's pretty much the softest thing in the world.
I ordered a 1 yard cut of the print so I just squared up the sides and cut rounded corners using a plate (after prewashing everything of course) and then cut (3) 2" strips from the binding fabric (this was just barely enough). I basically followed these instructions if you are looking for a tutorial.
Everything was going really great until I started to sew the binding down onto the front of the quilt with my machine. It wasn't very straight and I had a few skipped stitches so I decided to try zig zag stitching. That was even worse. Plus, it turns out that knit fabric isn't very forgiving when it comes to the seam ripper.
So I very carefully picked out my stitches and then spent a very long time pinning the binding down. My machine was skipping stitches so a slowed way down (according to my Google searching this is called fabric flagging and there are a few different solutions you can try, but slowing down worked for me). Slowing down also made my stitches straighter so it was for the best anyway. The back isn't perfect, but it's definitely one of my better machine binding attempts.
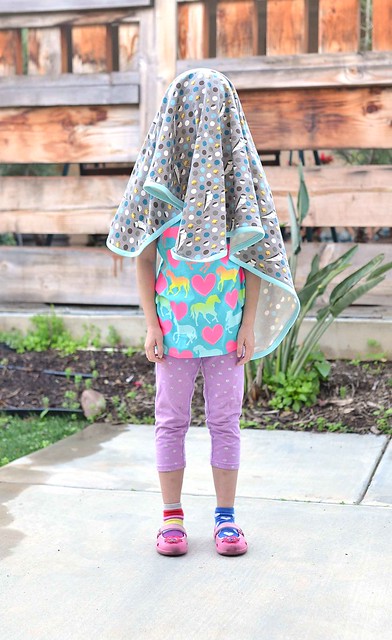
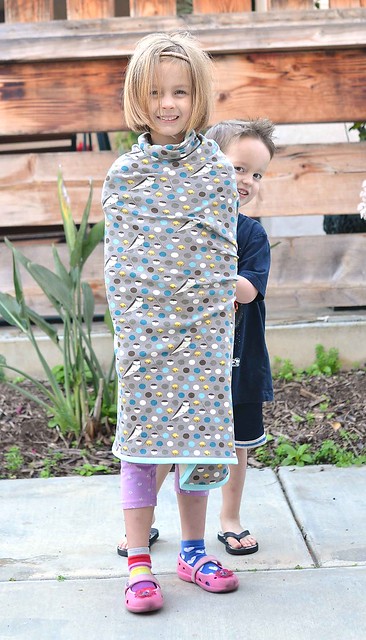
As you can see, the kids are already having fun with them and now I am going to have to make at least five more. We even tested out its swaddling capabilities on my 6 year old. If only it was this easy to keep kids still :)
Now I have a wish list of knit fabrics that I wanted. Just what I needed: another fabric wish list.


