


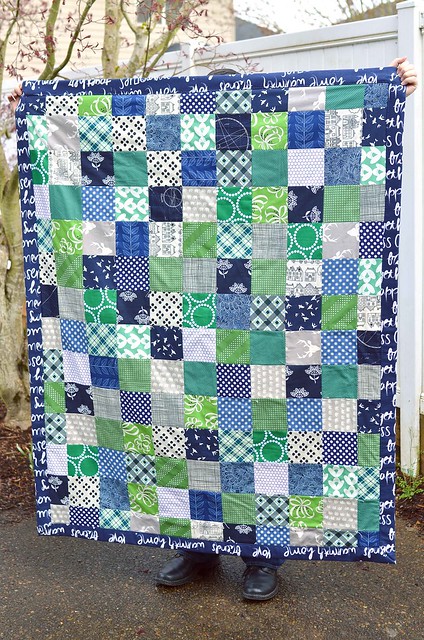
Blue and Green Picnic Quilt with Instructions
A couple weeks ago I got note home from school that my kids' classes desperately needed donations for the baskets that their classes were putting together. Apparently the school does a fundraiser where the classes collect items for themed baskets and then they are raffled off. I had completely missed any information that came home about donating, but I didn't have anything pressing on the agenda so I decided to donate quilts.
For my daughter's class, they were collecting items related to reading - books, hot cocoa, mugs, and snuggly blankets. That was easy, I donated this quilt. But my son's class wanted outdoor items - kites, soccer balls, picnic items, etc. I didn't have a picnic quilt on hand - I had only made one and it's the one that we use - so I decided to make one.
For my daughter's class, they were collecting items related to reading - books, hot cocoa, mugs, and snuggly blankets. That was easy, I donated this quilt. But my son's class wanted outdoor items - kites, soccer balls, picnic items, etc. I didn't have a picnic quilt on hand - I had only made one and it's the one that we use - so I decided to make one.
We have really enjoyed the picnic quilt that I made for my family so I knew I wanted to make this one the same way and I thought I'd share my process with you.
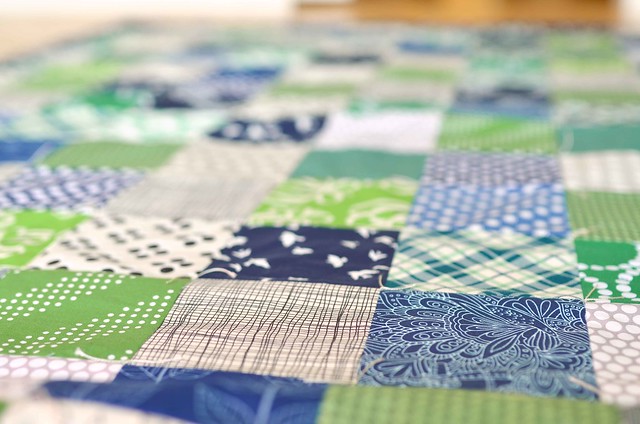
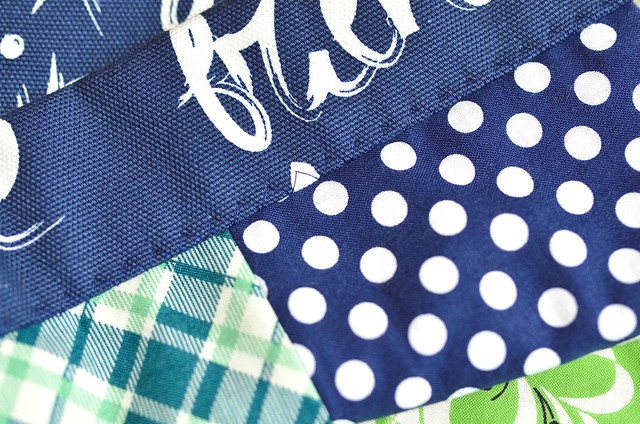
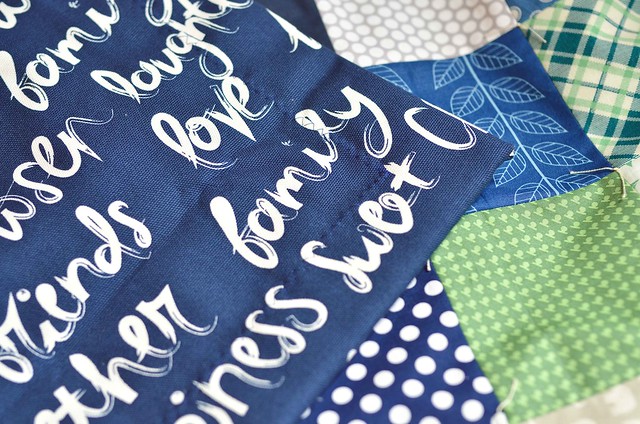
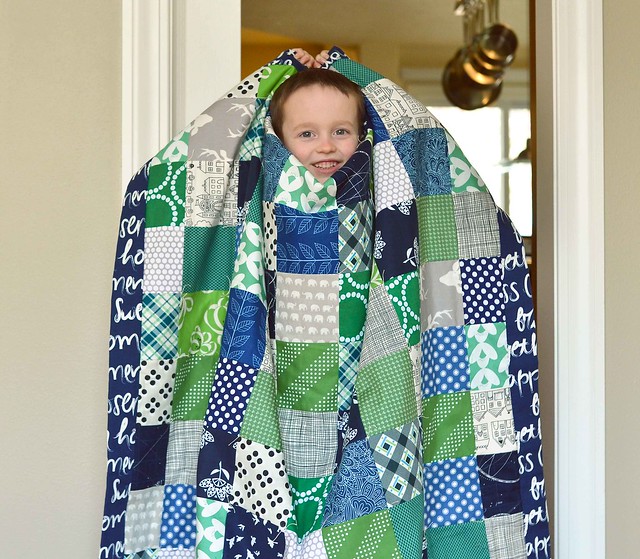
1. I cut a bunch of 5" blue, green, and gray squares from my stash and pieced them together. Obviously you can make the quilt top however you want, but that's how I made this quilt top.
2. Use canvas for the backing. I used an Art Gallery Fabrics canvas print which is great because their canvas is pretty heavy duty, but there are lots of canvas options out there. If you use a wide canvas like this one (it is 58" wide) and your quilt is less than 50 inches wide (and you line up the layers very carefully when you baste), the width of the fabric should be wide enough to just need 2 yards for the backing.
3. Use flannel for the batting. In the first picnic quilt I made I used a flannel sheet (prewashed!) which worked great. I didn't have one on hand this time, but I did have lots of random flannel scraps so I pieced them together. Since some of the flannel pieces were really colorful and I didn't want to be able to see them through the quilt top, I put the right side of the fabric down when I basted the quilt. The pieced scraps worked really well.
4. Tie the quilt. This isn't necessary, but it just feels like a picnic quilt should be tied. I tied mine with Perle cotton and placed a tie at each seam intersection.
5. Use a wide, fold-over binding. If you have never used this method, Allison has a great tutorial. I did my binding just like the tutorial with a couple of exceptions. I like to make the binding extra wide because it adds weight to the edges of the quilt which helps weigh the quilt down so it isn't blowing up in the wind or getting shifted around. Instead of trimming the backing down to 1" around the edges, I trimmed it down to 4".
I also trimmed the flannel batting to be the same size as the backing, not the quilt top. That adds even more weight to the thick binding.
6. Zig zag stitch the binding into place once folded over. I have tried hand stitching this, but it is really thick so it was quite laborious. Using a zig zag stitch leaves a smooth transition between the quilt and the binding and is quick and easy. It should also hold up well to repeated washing.
This was a pretty quick turnaround, I made it in a little over 2 days without much stress, so it is a pretty fast project. My son was happy to donate it to his classroom basket.
Finished size: 50" x 63"