


April Giant Block Tutorial
Happy April! I am excited to share another tutorial with you today.


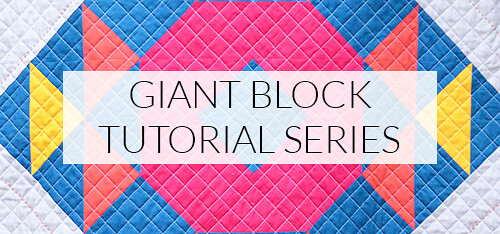

This is the fourth quilt in the Giant Block Tutorial Series. I think that you will find this project to be fast and fun!
The tutorial for a 24" and 36" block is available (for free!) in my shop. Examples for using the blocks in a quilt are listed below.
In the images below, I have added binding to the images to help show how a completed quilt would look and to help show scale.
These are some suggestions on how you can use this block in a quilt. For more ideas, look at the past posts in the Giant Block Tutorial Series. Since each month has blocks are the same size, any of the 24" quilt ideas will work for the 24" block and any of the 36" block tutorials will work for the 36" block.
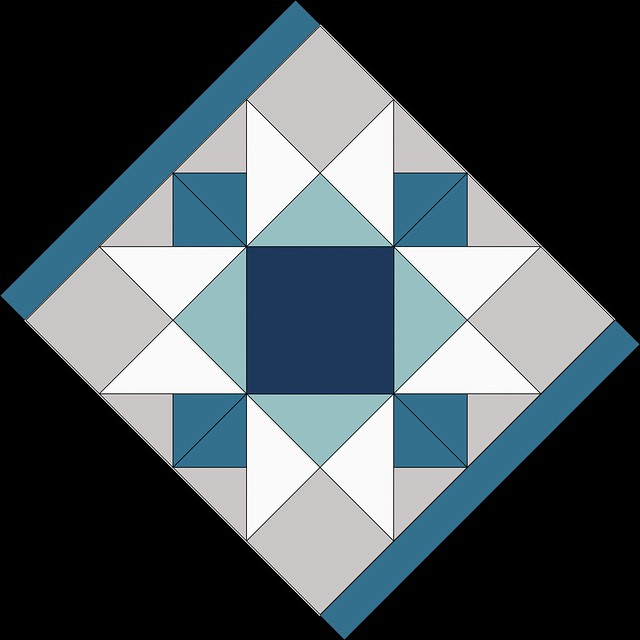
24" Block Quilt Idea
Finished size: 37" x 37"
Make (1) 24" block.
Cut (2) 2.5" x 24.5" strips of the border fabric, piece onto opposite sides.
Cut (2) 2.5" x 28.5" strips of the border fabric, piece onto remaining sides.
Cut (2) 21" x 21" squares of background fabric for the corner triangles. Cut once on the diagonal (see step 1 above for visual) and sew a triangle onto each side.
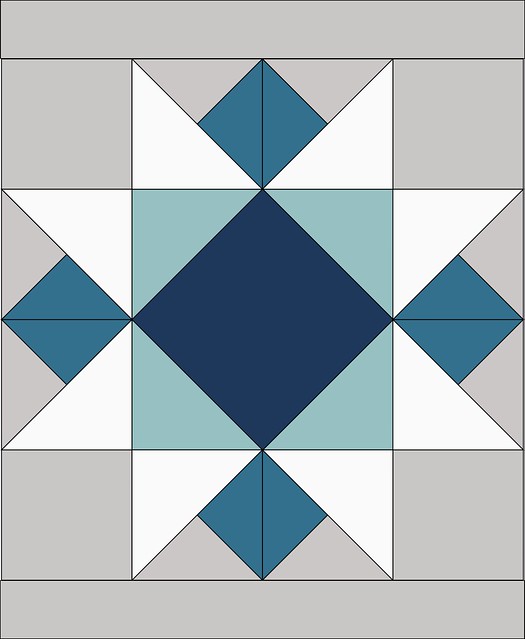
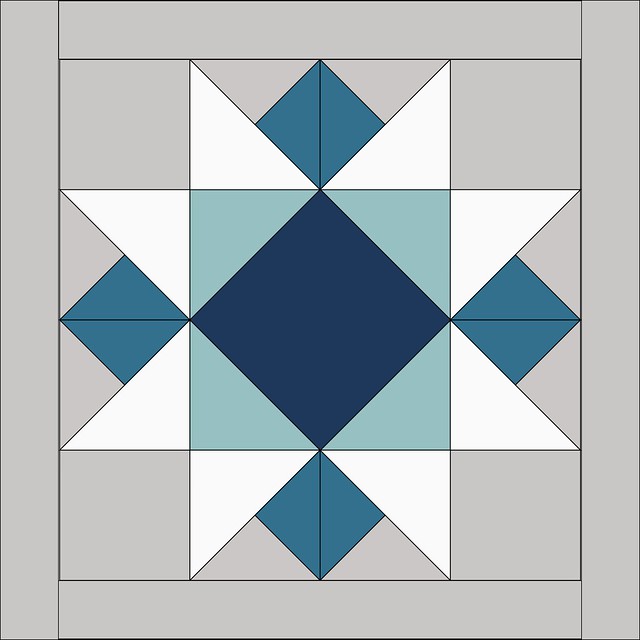
36" Block Quilt Idea
Finished size: 44" x 44"
Make (1) 36" block.
Cut (2) 4.5" x 36.5" strips of background fabric. Piece onto opposite sides of your block.
Cur (2) 4.5" x 44.5" strips of background fabric. piece onto remaining sides.
And you have a quilt!
You can download a printable PDF of all of the Giant Block Tutorials (for free) in my shop.