


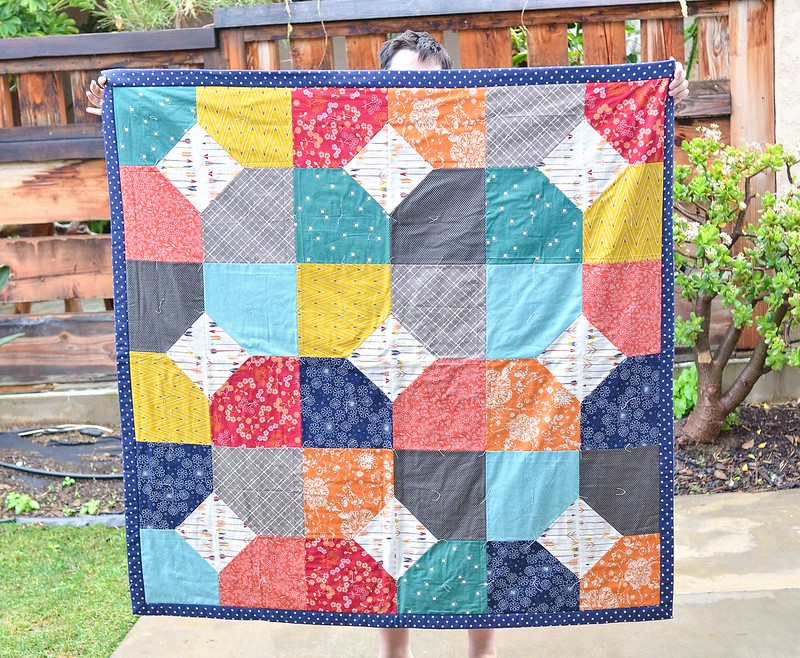
Layers of Charm Picnic Quilt
When I saw this quilt I knew that I wanted to make a picnic quilt. Not something big enough for the whole family, but something to take out at the park for me and the kids. It is the perfect size (57.5" x 57.5"). I apologize in advance, this post is a little verbose.
One great thing about this pattern is that it is simple and quick enough that if I take it to the park and one of my kids spills grape juice on it, I will be sad because the fabrics are gorgeous and I don't want grape juice spilled on them, but I won't be devastated that I something I spent painstaking hours putting together is now covered in grape juice.
This is probably my fourth attempt at a picnic quilt and all of the previous quilts have been repurposed because they were took bulky, not hearty enough, or somehow both, so I knew that I wanted to try a few new things this time around.
- I tied this quilt with perle cotton. I don't know about you, but I have never actually tied a quilt before and thought it would be a good fit for a picnic quilt because I know my kids will yank and pull and fight over it. Verdict: not my favorite. It took almost as long as quilting and I miss the texture that machine quilting gives the quilt. I probably wouldn't tie a quilt for use at home, but it will work for a picnic quilt.
- I used a flannel sheet instead of batting. To be honest, I have seen other people omit batting or use flannel or fleece and I thought it was a terrible idea. But I was trying to avoid bulk and I had a (prewashed) flannel sheet sitting next to my sewing machine so I thought I'd give it a try. Verdict: I LOVE it. The quilt is much more streamlined and has a nice feel to it. I will definitely try this again and I think it is a great option for quilts that are used in warmer climates.
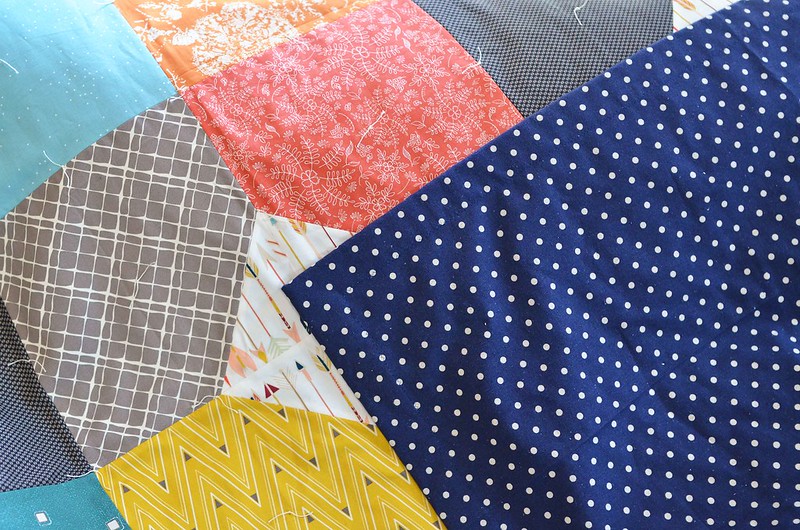
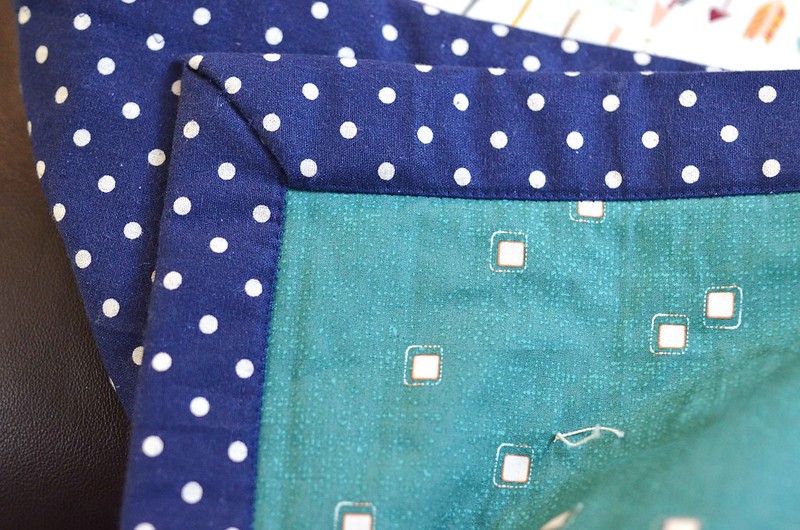
- I used the foldover binding technique. This was another one that I expected to not like. Verdict: it was perfect for this project. I used Mochi cotton/linen blend for the backing to give the quilt a little more heft and it occurred to me that having a linen blend for the binding would help weigh down the edges of the quilt. To make them even more weighed down I made the binding extra wide. I trimmed the backing to be 3" wider than the quilt top so when I folded it in twice my binding covers 1.5" of the quilt top. Instead of trimming my batting (in my case a flannel sheet) to the same size as the quilt top, I trimmed it to the same size as the backing (except in the corners) and that made the 1.5" binding nice and squishy. The edges of the quilt are much more substantial than a normal quilt and I think it will be nicely weighed down. I zigzag stitched the binding to the front of the quilt. It is much easier to attach this type of binding by the machine since you don't have to worry about trying to "catch" the binding on the side you can't see. I also tacked down the corner a little bit with a few hand stitches to keep everything secure.
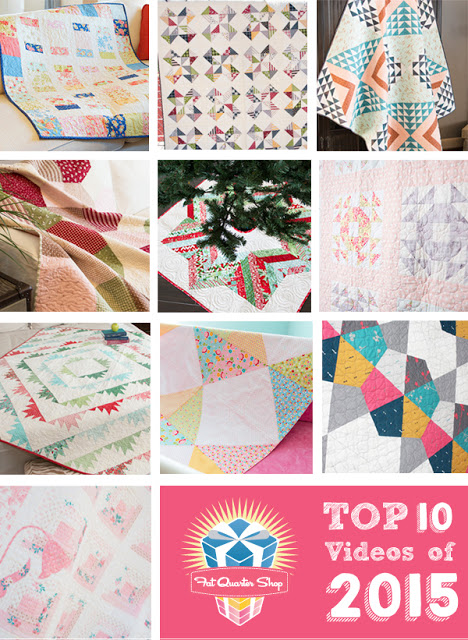
If you do make a Layers of Charm quilt, or any of the quilts featured in the Fat Quarter Shop's Top 10 Videos of 2015, make sure to post it on Instagram before January 31st with the hashtag #FQSTop10 to be entered to win a $100 gift certificate to the Fat Quarter Shop!